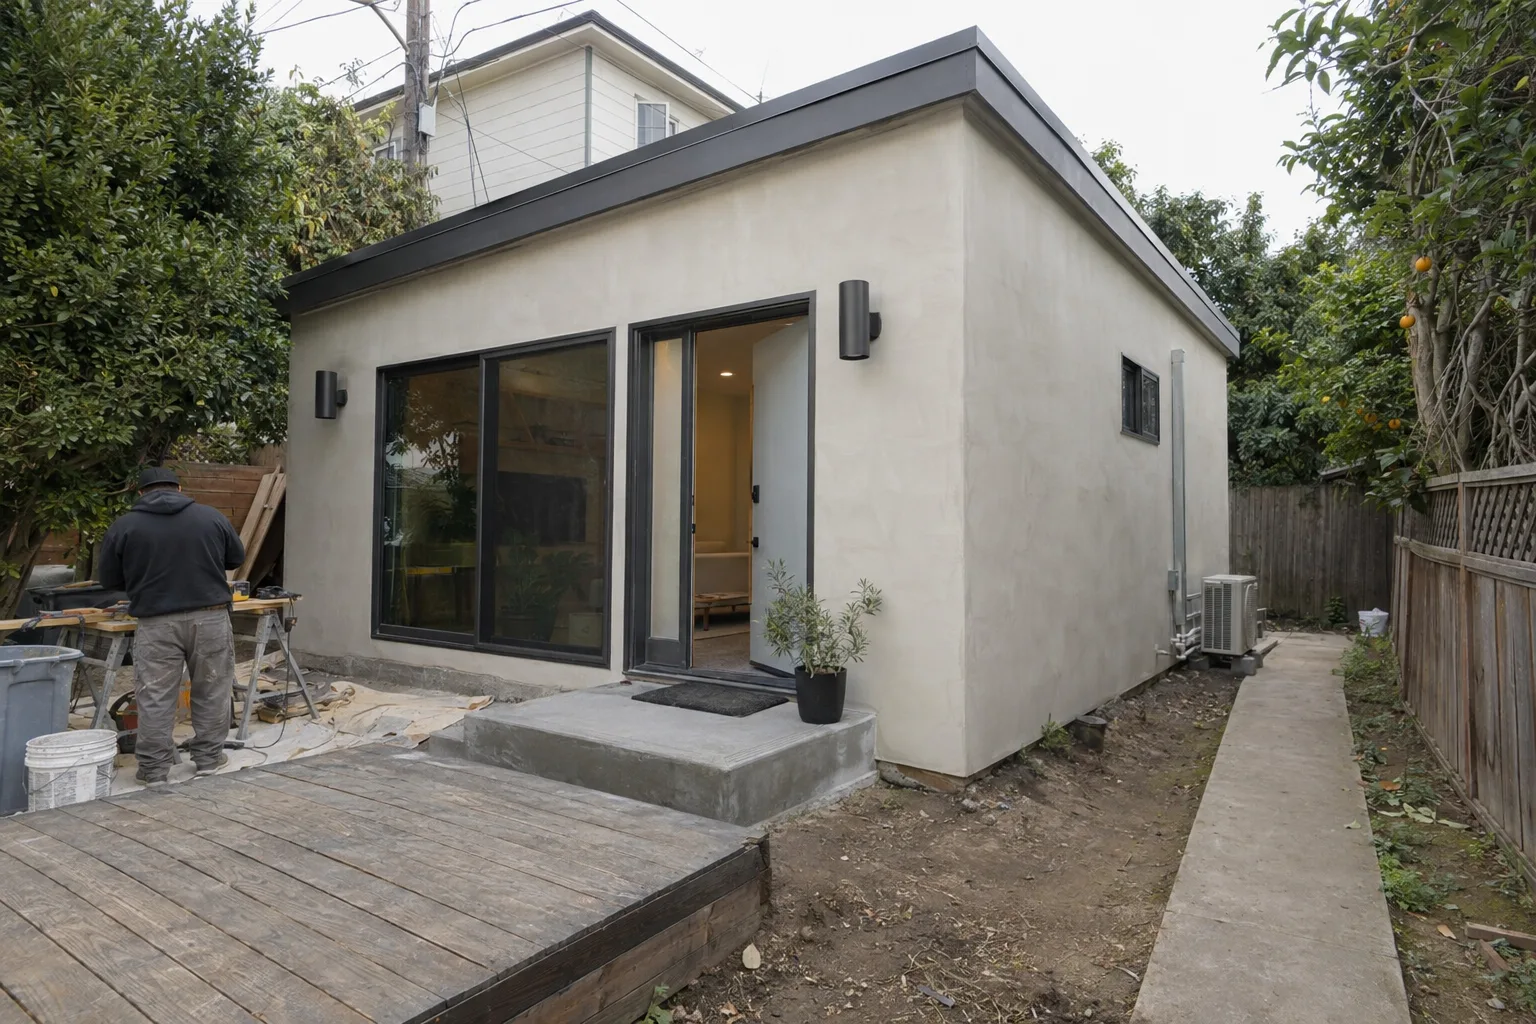
What Siding and Trim Painting Actually Involves - and Where It Gets Specific
Siding and trim painting are two connected tasks that require different hands and different tools.
Most people think of exterior painting as one job. It isn't. Siding panels - whether wood, stucco, or fiber cement - cover large flat surfaces. They need cleaning, sanding, priming, and a topcoat applied evenly across a wide plane. Trim work is something else entirely.
Trim cap - the painted border pieces framing windows, doors, corners, and rooflines - sits at every transition point on your exterior. Those edges are where two materials meet at different planes. Getting a clean line there takes tight masking, careful caulking, and a steady hand. One bleed mark at a window corner undoes otherwise solid work.
At SNA Remodeling Hollywood, we treat siding and trim as separate scopes that connect. Each surface gets the prep it needs. Each transition gets masked before a single coat goes on.
The Exterior Materials LA Homes Carry and How Each One Gets Prepped
Los Angeles homes run on a short list of siding materials - and each one demands a different prep approach.
The older bungalows and Spanish-style homes throughout Hollywood, West Hollywood, and Silver Lake typically carry wood siding - a natural material prone to UV fading, grain raising, and moisture absorption. Wood needs to be sanded down and primed before topcoat adhesion can hold. Skip that step and the paint lifts within a season.
Fiber cement siding - an engineered panel material that requires primer before topcoat adhesion - holds up longer in UV exposure than raw wood. But the edges show wear first. Where a fiber cement panel meets a trim cap or a window corner, the paint breaks down at the seam before anywhere else. Marine air from the coast accelerates that process across much of the LA basin.
Our crew operates from 1433 N Martel Ave and works these material profiles constantly. We're close to the grid of older homes that defines this part of Los Angeles. Getting to a job here is a short drive, not a long haul.
Walk the Perimeter: Where Trim Lines Show the Condition of Your Paint
The perimeter walk tells you more about your exterior paint than any single wall.
I'm Liam Harris, founder of SNA Remodeling Hollywood. Here's how I think about a siding and trim job when I first look at a house.
I start at a corner. Not the front face - a corner. That's where wood siding, trim cap, and sometimes a second siding plane all come together at one point. If the paint is wearing anywhere on the exterior, the corner usually shows it first. You'll see cracking at the caulk joint, or a gap where the trim has pulled slightly away from the siding. The paint over that gap looks fine from six feet back. Up close, it's already open to sun and air.
Then I move to the windows. Every window on a Los Angeles home sits inside a trim frame. That frame has four corners and four edges where it meets the siding. Eight transition lines per window - and most homes have eight to twelve windows. That's a lot of masking before any paint gets applied.
Here's what matters about exterior trim: the caulk joint between siding and trim isn't decorative. It's a moisture and UV barrier. When it goes, the paint on the trim cap starts peeling from the back side - underneath the visible surface. By the time you see the peel on the outside, the raw material has already been sitting exposed.
We walk the full perimeter before we quote. Every corner. Every window frame. Every place where one material ends and another begins. That walk determines the prep scope - and the prep scope determines how long the finish holds.
Why Surface Prep Determines How Long the Finish Lasts
Surface preparation - not the paint brand - is what separates a two-year finish from a seven-year finish.
A question we hear often: "Does the paint quality matter that much?" It does. But prep matters more. Exterior latex paint - a water-based topcoat formulated for UV resistance and thermal expansion on outdoor surfaces - performs at its best only when applied to a properly cleaned, sanded, and primed surface.
Los Angeles gets intense UV year-round. That UV doesn't just fade color - it breaks down the bond between old paint and the surface underneath. If that old paint isn't properly scraped, sanded, and primed before the new coat goes on, the new coat inherits the same weakness. Good prep solves the problem at the source.
We handle prep in-house. The crew that scrapes and primes your siding is the same crew applying the finish. That continuity matters. Nobody is inheriting another team's prep work and hoping it was done right.
How We Approach Siding, Trim, and Every Transition Between Them
Clean results on siding and trim jobs come from a consistent, deliberate process - not speed.
Here's how our standards work on every exterior painting job:
- Material identification first.Wood, stucco, and fiber cement each get a different primer and prep sequence before any topcoat is selected.
- Full surface cleaning.Dirt, chalk, and oxidation get removed before any sanding or scraping starts. Painting over a dirty surface shortens finish life.
- Caulk inspection at every joint.Failed caulk between siding and trim gets replaced before painting. Not covered - replaced.
- Masking at transition lines.Every edge where siding meets trim, and every corner where two trim planes meet, gets masked before the first coat.
- Primer before topcoat.Always. On bare wood, on patched areas, and on fiber cement panels where the factory prime coat has been compromised.
- Two topcoats minimum on trim.Trim cap takes more weathering than flat siding. It gets the extra coverage.
No shortcuts in the middle of a job. Every step gets done in order.
From First Coat to Final Edge - Our Painting Sequence Explained
Every siding and trim project follows the same sequence, in the same order, every time.
Diagnostics
We start with the perimeter walk - corners, windows, door frames, roofline trim, and any area where two materials meet. We note what's wearing, what's stable, and what needs repair before paint. Caulk joints, surface adhesion, and any exposed raw material all get assessed before a prep plan is set.
Implementation
Prep comes before paint. Surface cleaning removes chalk and oxidation. Scraping removes loose or peeling areas. Sanding follows - smoothing edges and creating mechanical adhesion for primer. Caulk replacement happens before masking, not after. Masking covers every transition line - siding-to-trim, trim-to-glass, trim-to-stucco - before the first drop of paint moves. Primer goes on bare and patched surfaces. Once dry, the first topcoat follows. Trim gets a second coat after the siding is finished.
Post-Service
We inspect every transition line after the topcoat dries. Any edge that shows bleed, gap, or uneven coverage gets touched before we call the job complete. Masking comes down last - after inspection, not before - so nothing shifts during cleanup.
Siding and Trim Painting Across Greater Los Angeles
We serve homeowners and property owners across the Greater Los Angeles Area.
Our crew works throughout Los Angeles, West Hollywood, Hollywood, Silver Lake, Culver City, Beverly Hills, Burbank, Glendale, Santa Monica, Studio City, Sherman Oaks, and beyond - including Pasadena, Long Beach, and the San Fernando Valley. If your home is in this region, we can be there.
Ready to Repaint? Here's How to Get Started With SNA
Starting your siding and trim project is straightforward - reach out and we'll walk through the scope with you.
Call us at +1 323-761-0179 or email info@snaremodeling.com. Tell us your siding material, what you're seeing on the exterior, and where the property is located in Los Angeles. We'll discuss what the prep and painting process involves for your specific surfaces and set up a time to take a look.