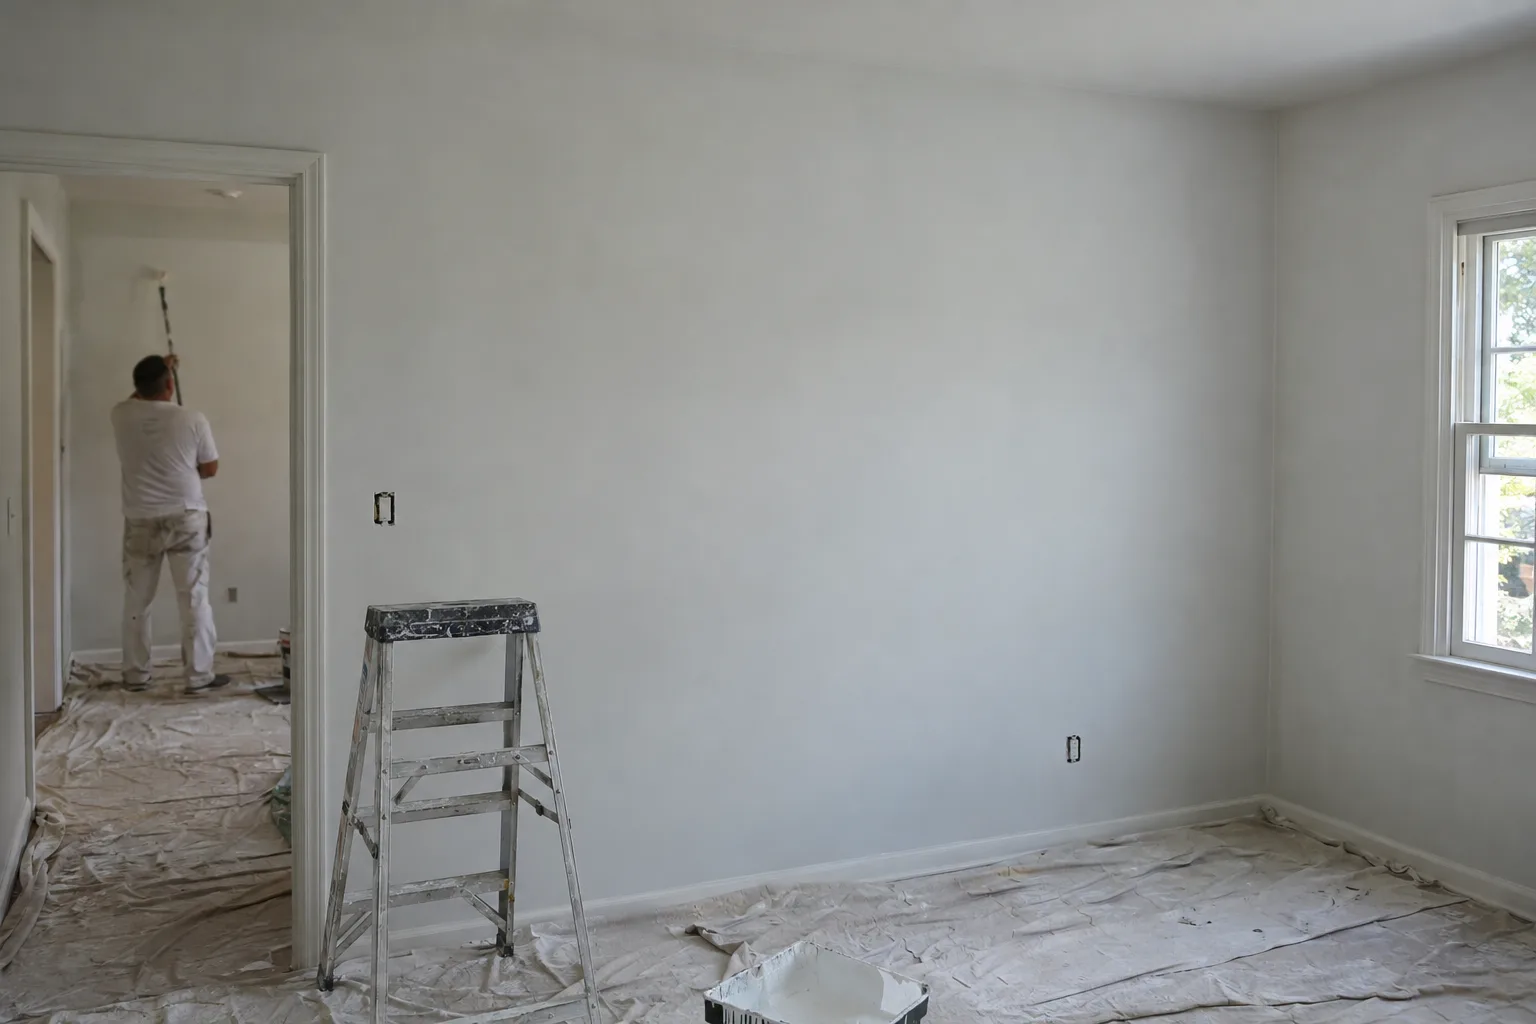
What Surface Preparation Actually Includes - and Why Each Step Is Sequenced
Surface preparation is the complete substrate-readiness process - patching, sanding, sealing, and priming - before any topcoat is applied.
The substrate - the base material a wall is made of, whether drywall, stucco, wood, or masonry - has to be in the right condition for paint to stick. That condition doesn't happen automatically. It's built, step by step, in a specific order.
Patching fills damaged areas so the surface is structurally sound. Sanding creates the surface profile - the texture and porosity that lets primer grip. Sealing blocks stains, tannins, or moisture from bleeding through the finish coat. Priming then creates a uniform, adhesion-ready base.
Each step depends on the one before it. Skipping or rushing any one of them affects everything above it. That's why SNA Remodeling Hollywood treats priming and surface preparation as its own dedicated phase - fully completed before a topcoat is ever chosen.
How Los Angeles Climates Change What Your Surface Needs Before Paint
Los Angeles isn't one climate. It's several - and each one changes what a surface needs before paint.
In coastal neighborhoods - Santa Monica, Culver City, Silver Lake - marine air carries moisture into exterior walls. That moisture is the reason paint bubbles and peels from the inside out. The surface looked fine. But moisture infiltration - water entering through a wall surface - was working underneath the whole time.
Inland, the problem is different. In Pasadena, Burbank, and across the San Fernando Valley, intense UV exposure breaks down old stucco and wood surfaces. The coating turns chalky - a process called chalking, where UV degrades the outer film into a powder. New paint applied over chalking doesn't stick to the wall. It sticks to the chalk. And the chalk lets go.
Here's what matters about Los Angeles surface prep: coastal and inland conditions require different sealers, different primers, and different sequences. One approach doesn't cover both.
A Situation We See Often: Coastal Peeling vs. Inland Chalking - and the Different Fixes Each Requires
Two of the most common surface failures in LA come from different causes - and they need different solutions.
A call we often get goes something like this. A homeowner repainted their exterior two years ago. Now the paint is peeling again in the same spots. They want to know why the paint keeps failing - and whether it's a product problem.
In coastal areas, the paint itself is rarely the issue. Moisture infiltration was already present in the wall when the topcoat went on. No sealer was used. The primer coat - the preparatory coating that seals the surface and creates a bond for paint - went directly over a wall that wasn't dry or sealed. The paint held briefly, then moisture pushed back through.
In drier inland areas - Pasadena, the Valley - the same peeling pattern shows up, but for a different reason. The original surface coating had chalked out from years of UV exposure. That powdery layer was never removed before the new paint was applied. As a result, adhesion failure occurred - the paint separated from the surface because the surface itself wasn't stable.
The fix differs by environment. Coastal situations call for moisture-blocking sealers and primers rated for humid substrates before any finish work begins. Inland chalking requires mechanical surface prep first - sanding and scrubbing to remove the degraded layer - before primer is even considered. Then the right primer is matched to the cleaned substrate and climate zone.
Both situations are preventable. Neither gets fixed by better paint alone.
What Fully Prepped Surfaces Look Like Before the First Drop of Paint
A properly prepped surface is uniform, stable, and visually flat - with no soft spots, bleed-through, or uneven texture.
Run your hand across a wall that's been patched, sanded, and sealed correctly. It should feel consistent. No ridges from old tape. No swells from moisture. No rough patches where old paint flaked and was painted over.
Liam Harris, Founder and CEO of SNA Remodeling Hollywood, describes it this way: "When I walk through a surface-prep stage before we prime, I'm checking three things. Is the surface profile - the texture we've created through sanding - consistent enough for primer to grab? Are all the patches cured and flush? And is there any active bleed-through risk from staining or moisture? If yes to all three, we're ready to prime. If not, we go back."
That walkthrough is standard, not optional. The primer coat goes on only after the physical inspection confirms the surface is ready. Full cure time is respected before paint is scheduled.
Our Preparation Sequence: Assess, Patch, Sand, Seal, Prime, Cure - In That Order
Every surface we prepare follows the same six-step sequence - no steps skipped, no stages compressed.
- Assess:Inspect the substrate for damage, moisture, chalking, staining, and surface profile
- Patch:Fill cracks, holes, and damaged areas with the right filler for the substrate type - drywall compound for interior walls, patching stucco or elastomeric filler for exterior
- Sand:Create the correct surface profile for primer adhesion - coarser for bare or heavily textured surfaces, finer for smooth interior walls
- Seal:Apply a sealer where moisture, tannin bleed-through, or staining is present - critical on coastal exteriors and on bare wood
- Prime:Apply a primer coat matched to the substrate, climate zone, and planned topcoat - oil-based, water-based, or shellac-based depending on the situation
- Cure:Allow full cure time before any topcoat is scheduled - this is not measured in hours; it depends on substrate type, temperature, and humidity on the day
How We Match Primer Type to Substrate, Climate Zone, and Topcoat
Primer selection isn't a default - it's a decision made after the substrate and environment are known.
Diagnostics
Before primer is chosen, the surface is assessed for material type, moisture exposure, and existing coating condition. Drywall, stucco, wood, and masonry each behave differently. Each requires a primer formulated for its porosity and bonding characteristics.
Implementation
For coastal exteriors in areas like Santa Monica or Silver Lake, moisture-blocking primers are applied after sealing to prevent infiltration-driven adhesion failure. For inland stucco in Pasadena or Burbank where chalking is the issue, the degraded layer is removed mechanically, and a high-adhesion primer goes on the clean substrate. Interior drywall typically uses a PVA drywall primer on new surfaces or a stain-blocking primer where water damage or discoloration is present.
Confirmation Before Paint
Before the topcoat is scheduled, the primed surface is checked for uniform sheen, no bleed-through, and consistent coverage. Any areas that have flashed - absorbed primer unevenly - are spot-primed and re-assessed. Only after that confirmation is the painting phase planned.
This sequence is the foundation of every painting engagement we take on - interior or exterior, new construction or remodel.
Where We Prepare Surfaces Across Los Angeles and the Surrounding Region
SNA Remodeling Hollywood dispatches from 1433 N Martel Ave in Los Angeles - centrally positioned for quick reach across the region.
We serve Los Angeles, West Hollywood, Hollywood, Silver Lake, Culver City, Beverly Hills, Burbank, Glendale, Santa Monica, Studio City, Sherman Oaks, Van Nuys, Pasadena, Encino, Torrance, Long Beach, and communities throughout the San Fernando Valley and beyond.
Ready to Start With the Surface, Not Skip It?
Surface prep is where paint jobs are won or lost - and it's where we start every project.
If you're planning an interior or exterior paint project in Los Angeles, contact SNA Remodeling Hollywood before paint is scheduled. Call 323-761-0179 or email info@snaremodeling.com. Let's assess the surface, plan the prep phase, and build a finish that holds.